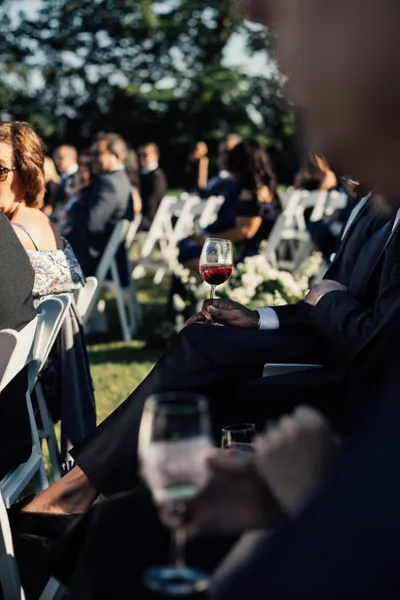
There's a special kind of magic when a guest's photo appears on the big screen moments after they take it. A live photo wall — a real-time slideshow of guest uploads — brings your celebration together and gently encourages everyone to share. Here's how to set one up at your wedding.
In this article
What a live photo wall is
It's a slideshow that updates in real time as guests upload photos to your gallery. Displayed on a projector, TV or LED screen, it becomes a living centrepiece that everyone contributes to throughout the night.
What you'll need
A screen or projector at the venue, an internet connection, and a device to display the slideshow. With GuestDrops you simply open your event's live slideshow on that device and put it full-screen — no extra hardware or software required.
Place your QR codes for maximum uploads
The wall only fills up if guests are scanning. Put QR codes on tables, at the bar and beside the screen itself, with a short prompt like 'Scan to add your photos to the wall'.
Keep it tasteful with moderation
If you'd prefer to approve photos before they appear, switch on moderation so only chosen images reach the screen. For relaxed celebrations, instant display keeps the energy high.
The best moments to have it running
Speeches, the first dance and the evening reception are prime time — guests are photographing anyway, and seeing their shots on screen encourages even more sharing.
Quick tips
- • Test the slideshow on the venue screen before guests arrive.
- • Position a QR code right beside the display.
- • Use moderation for formal moments, instant display for the party.